How to Balayage Hair at Home for Natural Blended Highlights
You desire that sun-kissed, salon-fresh hair without the salon price tag, do not you? Balayage at home is a game changer. You can achieve those natural, blended highlights; I am here to help you do it without creating a patchy, orange mess. Trust me, I have some personal experience.
Understanding Balayage Basics Before You Begin
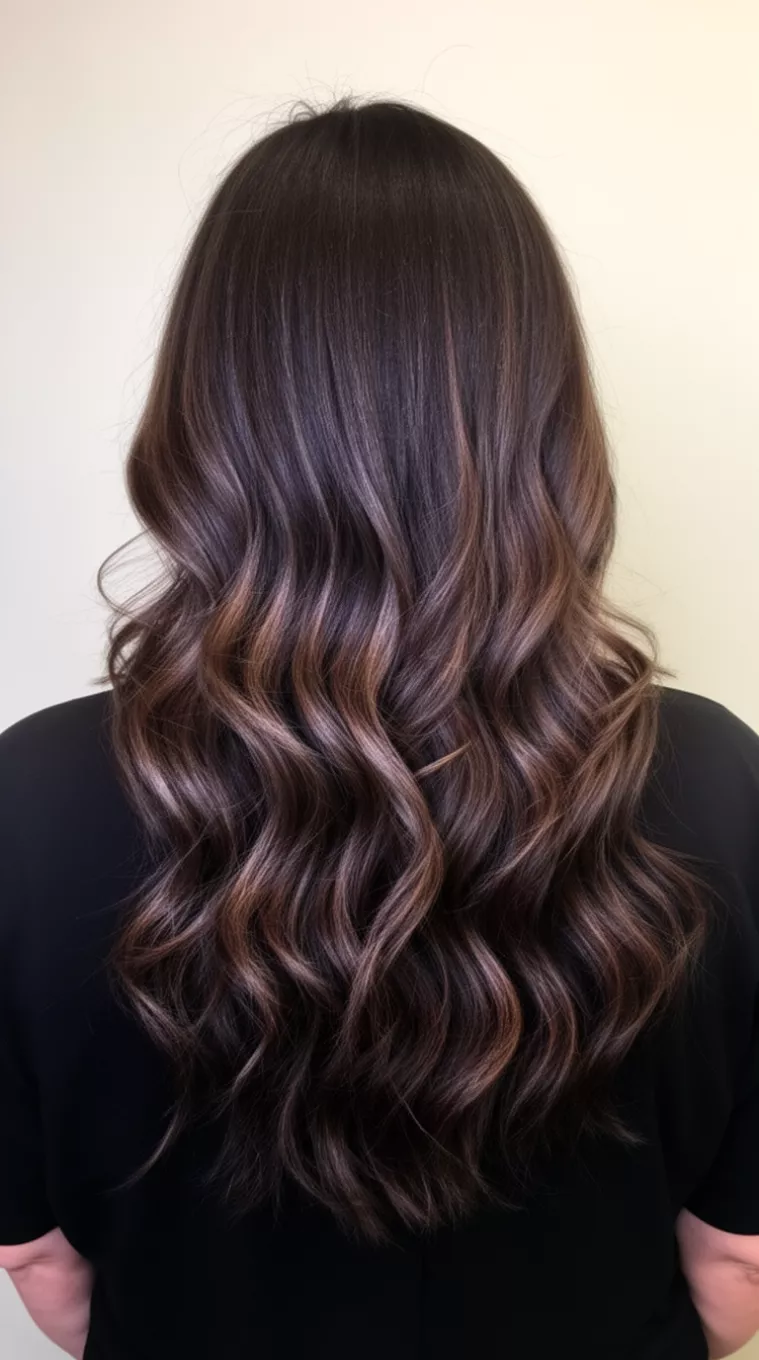
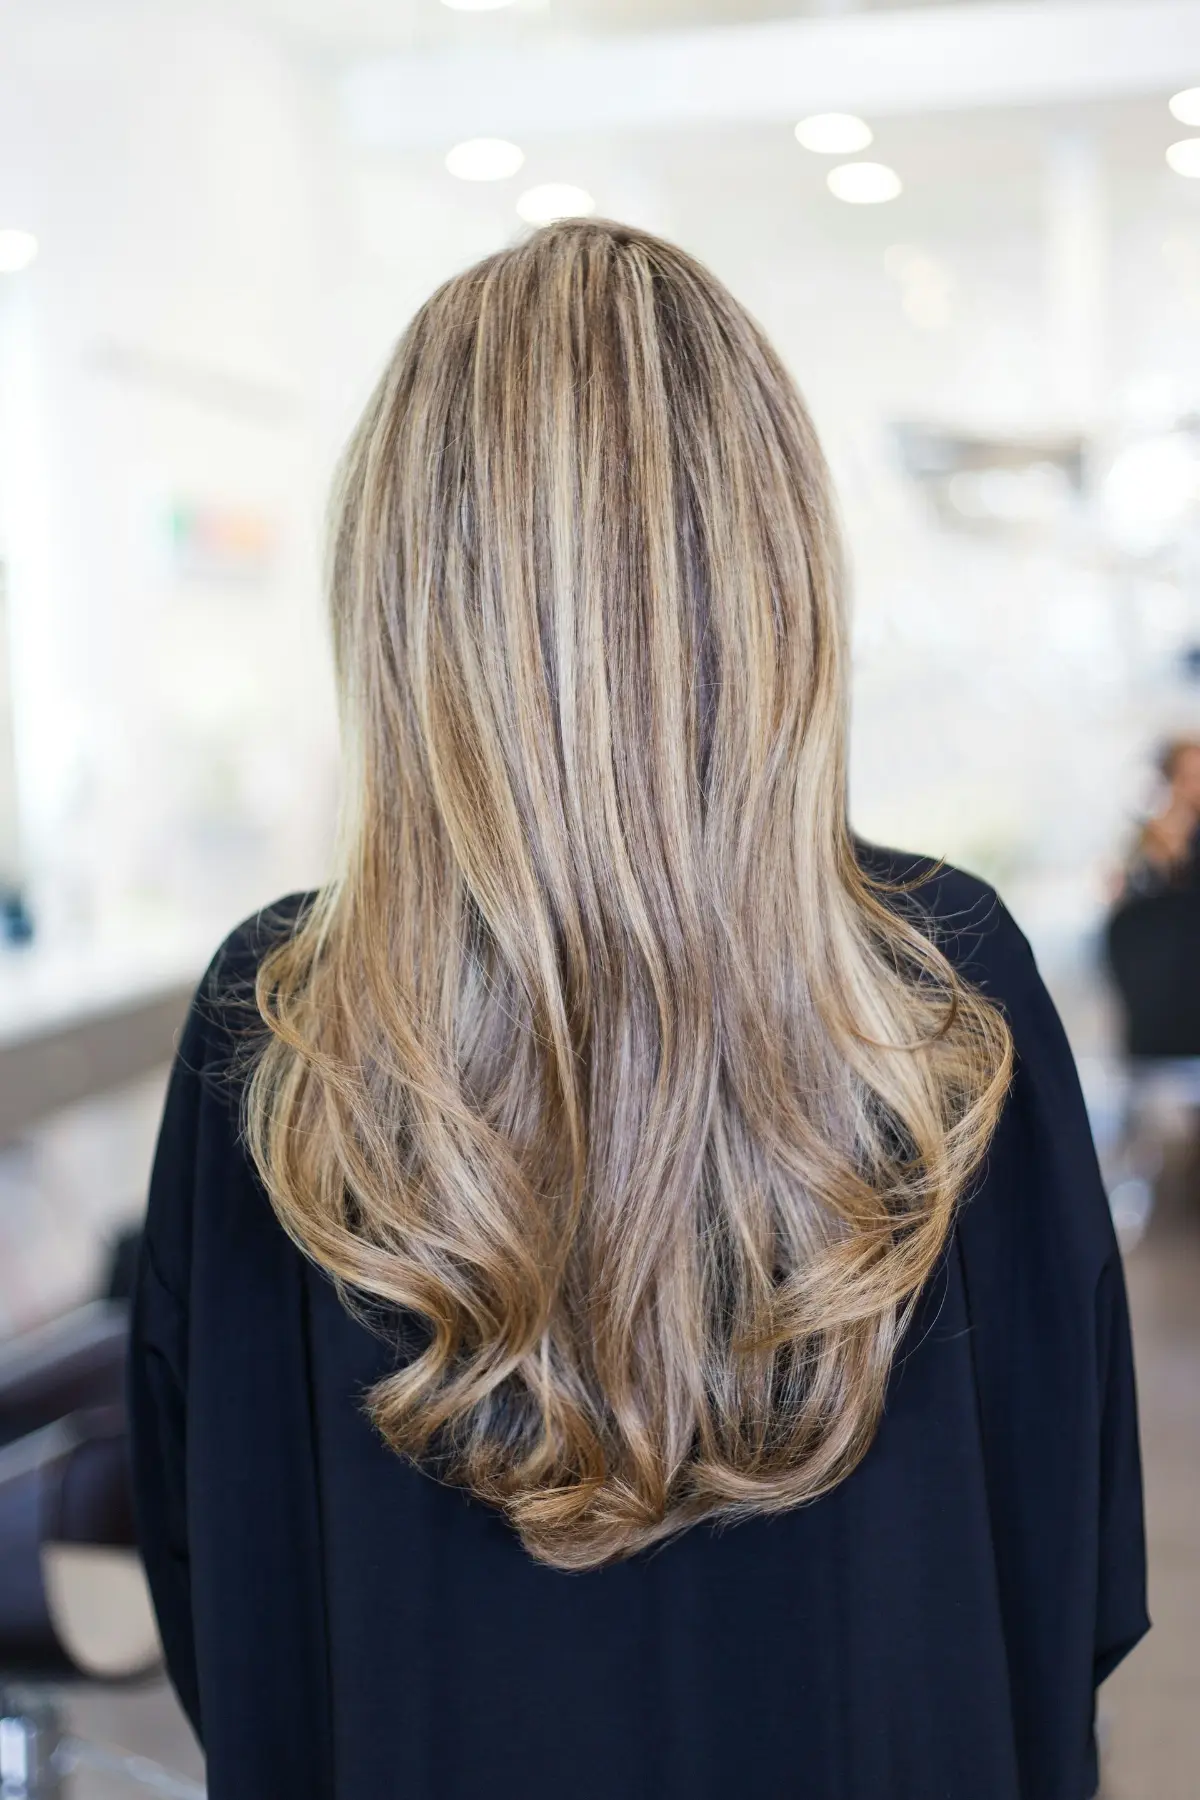
Before you even think about mixing bleach, you need to understand what balayage truly is. You are not painting stripes like a zebra; you are creating dimension. You want a soft, gradual lightness that mimics how the sun would naturally lighten your hair. Think subtle, lived-in color, not harsh streaks.
What Makes Balayage Different?
Traditional foils give a uniform highlight from root to tip. Balayage offers a more artistic, painterly approach. You freehand paint sections, creating a softer grow-out that requires less maintenance. You are aiming for effortless cool, not perfectly placed lines.
Gathering Your Balayage Arsenal
You cannot paint a masterpiece without the right tools, right? Seriously though, do not skimp on supplies. A bad brush can make your hair look like a faded traffic cone. You should have everything laid out before you begin for a smooth process.
- Bleach kit specifically for hair (read the instructions, seriously)
- Developer (match the percentage to your starting hair color and desired lift)
- Non-metallic mixing bowl and applicator brush
- Hair clips (section, section, section!)
- Gloves (unless you enjoy bleach burns, then, by all means, raw dog it)
- An old towel or cape you do not love
- Tin foils (optional, for extra lift on darker sections)
- Toner (essential for battling brassiness)
- Deep conditioner or hair mask
Preparing Your Hair for Balayage Bliss
You cannot just slap some bleach on dirty hair and expect miracles. Your hair needs some preparation. You should start with clean, dry hair. This provides a fresh canvas for your balayage magic.
Pre-Bleach Hair Care
Do not wash your hair directly before balayage. A day or two without washing means your natural oils offer some protection. You protect your scalp from irritation. You also avoid extra dryness from over-washing.
| Hair Type | Developer Percentage (Vol.) | Expected Lift |
|---|---|---|
| Fine, Light Brown | 20 | 2-3 levels |
| Medium, Dark Blonde | 20 | 2-3 levels |
| Thick, Dark Brown | 30 | 3-4 levels |
Sectioning Your Hair Like a Pro
This part is where most people mess up, believe it or not. Bad sectioning equals bad balayage. You need clean, manageable sections to create those beautiful, blended highlights. Think of it like dividing a pie; you want equal, neat slices.
Dividing Your Hair for Application
You separate your hair into four main sections: two in the front, two in the back. You clip them securely out of the way. You can work with smaller subsections within these larger sections as you apply the bleach. You always want to work on small, manageable pieces.
Applying the Balayage Mixture: The Art Form
Now for the fun part: applying the bleach. Remember, you are painting, not slathering. You want natural strokes, not harsh lines. You aim for a soft transition from dark to light.
Painting Techniques for Natural Highlights
You hold your brush vertically. You paint strokes onto the top layer of each section. You start painting a few inches from the roots and get heavier towards the ends. You avoid the very root to get that soft blend. You can use your fingers to blend the product if you need to, but wear gloves! You do not want white fingers for a week.
- You mix your bleach and developer according to the kit instructions.
- You take a thin subsection of hair.
- You paint the mixture onto the hair, feathering upwards.
- You can use a small piece of foil under sections if you want more lift.
- You repeat this process for all your sections, working from the back of your head to the front.
Processing Time: The Waiting Game
This is where patience becomes a virtue. You need to watch your hair carefully. Over-processing results in damaged hair; under-processing gives you orange hair. You definitely do not want orange hair; it is never in style.
Monitoring Your Hair’s Lightening Process
You check a small strand every 5-10 minutes. You gently scratch off some product to see the color. You are looking for a pale yellow color, like the inside of a banana peel. You do not want it to look like a perfectly ripe banana, or you have gone too far. You rinse immediately when you reach your desired lightness.
Rinsing and Toning: The Finishing Touches
Rinsing properly removes all the bleach. Toning corrects any unwanted yellow or orange tones that might appear. You do not skip this step unless you fancy brassy hair. Toner is your best friend when balayaging at home.
Neutralizing Brassiness with Toner
You rinse your hair thoroughly with cool water until the water runs clear. You then apply your toner according to its instructions. Most toners sit for 5-20 minutes depending on the desired effect. You then rinse the toner out and apply a deep conditioning mask. You want to replenish moisture after all that bleaching. Your hair will drink it up.
Aftercare for Your Gorgeous Balayage
You cannot just highlight your hair and forget about it. You need to baby your new color. Proper aftercare keeps your balayage looking fresh and your hair healthy. It also helps prevent damage down the road.
Maintaining Your Balayage at Home
You use color-safe shampoos and conditioners. You incorporate a purple shampoo or mask into your routine once a week to keep brassiness at bay. You also use a heat protectant spray every time you use heat stylers. You try to wash your hair less often to preserve the color and moisture. Your hair will thank you for the extra love and attention. You can even use a leave-in conditioner after washing; your hair will stay soft and shiny.
Frequently Asked Questions
Can I balayage my hair if it is already colored?
You can balayage hair that is already colored, but you need to be very careful. You should consult a professional if your hair is chemically treated or very dark. You risk unpredictable results if you are not careful.
How long does balayage last at home?
Your balayage can last anywhere from 8-12 weeks before needing a refresh. The longevity depends on your hair growth and how well you maintain it. You can extend the life of your balayage with proper aftercare products.
What if my hair turns orange after balayage?
Orange hair happens when you do not lift the hair light enough or you do not use the right toner. You can try a stronger purple or blue toner to cancel out the orange. You might apply a second round of toner after a few days if needed. You should avoid re-bleaching right away to prevent damage.