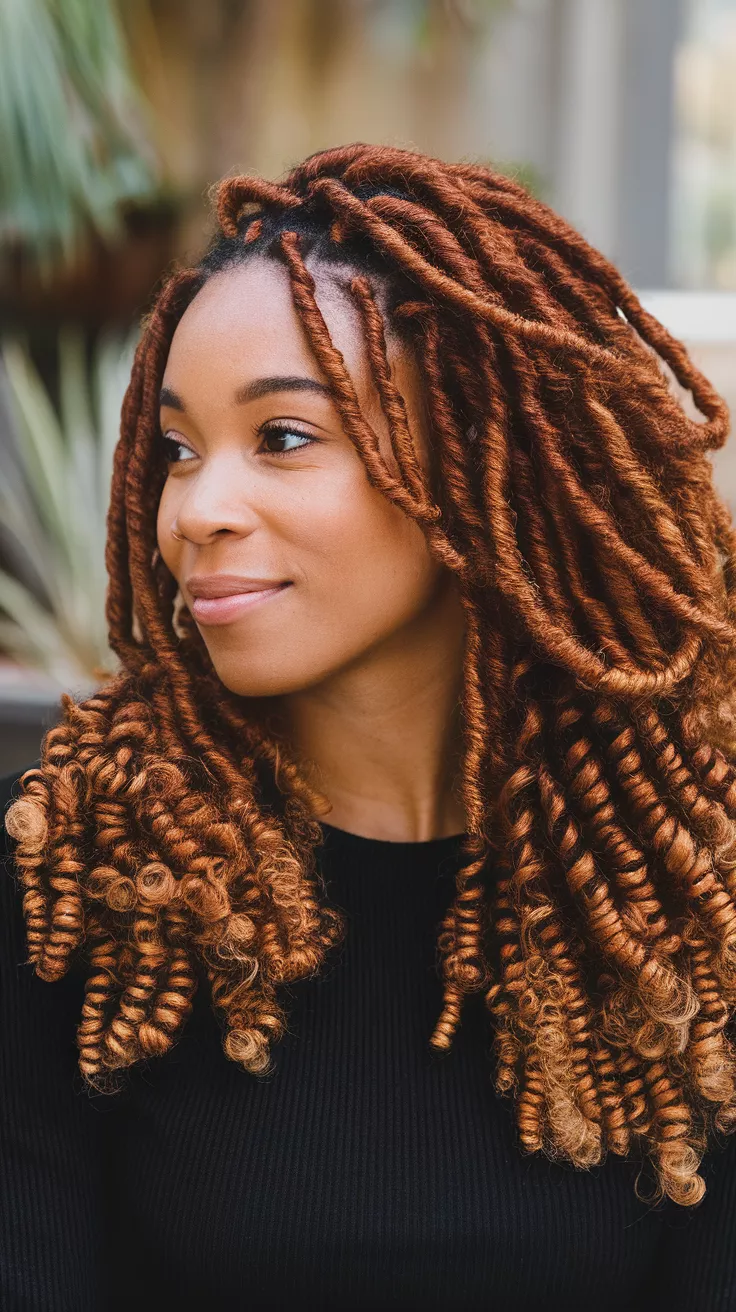
How to Highlight Your Hair at Home for A Fresh Look
Want that fresh, sun-kissed look without leaving your living room? You can totally give your hair those beautiful, natural-looking highlights yourself. I will walk you through everything, making sure you get that salon-worthy glow without the salon price tag or awkward small talk. Let us get those strands gleaming!

Prepare Your Mane
You cannot just grab any old box; preparation is key. I have seen too many disasters because people skip this part. Think of it as a pre-flight checklist for your hair.
Gathering Your Supplies
Alright, so you made the decision to do this. No turning back now. Collecting everything before you start saves you from frantic searches with dye all over your hands.
- Highlighting kit: Make sure it is for at-home use and matches your desired shade. Read reviews; some kits are better than others.
- Old towels: You will need a few. One for your shoulders, one for spills, and one just in case a rogue drip decides to go exploring.
- Gloves: Your kit probably has them, but extras are a good idea. Trust me, pink fingers are not a good look.
- Applicator brush or foil: Depending on your kit, you will get one or the other. Some people like using a toothbrush for a more natural look.
- Plastic clips: To section your hair.
- Timer: Do not guess; accurate timing prevents orange hair.
- Mirror: A good, well-lit mirror. Maybe even a hand mirror for the back.
- Old shirt: Something you do not mind getting stained. Your favorite band tee, maybe not.
- Petroleum jelly: To protect your skin from dye.
- Comb: For precise sectioning.
Hair Condition Check
Your hair needs to be ready. I mean, you do not want to highlight damaged hair, do you? That is like building a skyscraper on a cracked foundation.
You need to assess your hair’s current state. Is it dry? Brittle? Has it been recently colored? If your hair is not healthy, highlighting it can make it worse. A deep conditioning treatment a few days before can work wonders.
Make sure your hair is clean and dry. Freshly washed hair without conditioner is best, as conditioner can act as a barrier to the dye. Some people like to wait 24 hours after washing.
Choosing Your Highlighting Technique
There is more than one way to highlight hair, just like there is more than one way to eat a cookie. Each technique gives a different look, so pick what feels right for you.
Foil Highlights
Foil highlights give you more control. You get distinct pieces of lighter hair. This technique is great for a more defined, classic highlighted look.
You will take small sections of hair, apply the dye, and wrap them in foil. This isolates the hair and keeps the color separate from the rest of your hair. It also helps the color process more effectively because the foil traps heat.
This technique is a bit more time consuming, but the results can be stunning. It gives you that salon-precision look if you do it carefully.
Cap Highlights
Cap highlights are good for beginners. You pull strands through a cap, then apply the dye. This gives a more all-over, natural-looking highlight.
The cap technique is a blast from the past, but it works. You put a plastic cap with tiny holes over your head. Then, you use a hook to pull small strands of hair through the holes. You apply the dye to only those strands.
This method works well for short to medium hair lengths. It provides a more blended, subtle effect, making it harder to mess up. It is like having a natural light filtering through your hair.
Application: The Moment of Truth
This is where the magic happens, or where you accidentally turn your hair into a tiger stripe. Following directions carefully reduces the latter.
Sectioning Your Hair
Organization is key. Think of it like painting by numbers; each section needs its own attention. Proper sectioning prevents uneven results.
Divide your hair into four main sections: top, two sides, and back. Use your plastic clips to keep them separate. This helps you work methodically and ensures you do not miss any spots or over-process others.
Start with the sections that you want to be brightest. Usually, this means the front and crown areas. The hair near your face often catches the light naturally.
Mixing the Developer and Bleach
Always follow the kit instructions exactly. Seriously, do not eyeball this part. It is chemistry, not cooking. You are unlikely to get edible results anyway.
Most kits tell you to mix the developer and bleach powder in a non-metallic bowl. Use the gloves provided. Mix until it forms a creamy, consistent paste. Lumps mean uneven application.
Do not mix until you are ready to apply. The mixture starts working immediately and its potency decreases over time.
Applying the Highlights
This is it. Take a deep breath. You are capable of this. Work carefully and methodically.
For Foil Highlights
Take very thin sections of hair, about an eighth of an inch, using the tail of your comb. These are the pieces you will highlight.
Place a piece of foil underneath the section, close to the scalp. Paint the highlight mixture onto the hair, making sure to saturate the strands evenly. Leave a little space at the root to avoid bleeding.
Fold the foil carefully to enclose the hair. You can fold it in half, then fold the sides inward to create a neat packet. This prevents the bleach from touching unintended hair. Repeat this process around your head, focusing on the areas you want to brighten.
For Cap Highlights
Put on the highlighting cap, making sure it sits snugly on your head. Use the hook to pull small, even strands of hair through the holes. The thinner the strands, the more natural the highlights will look.
Once all your desired strands are pulled through, apply the highlight mixture evenly to these strands. Make sure to cover each strand completely but avoid getting the mixture on the cap itself, which could cause bleeding underneath.
Processing and Rinsing
This is the waiting game. Do not peek too often; it does not make the color process faster. It might just make you anxious.
Timing it Right
This is perhaps the most important part after mixing. Set your timer according to the kit instructions. Usually, it is between 15 and 45 minutes.
Monitor your hair’s color development. Check a small strand by gently scraping off some product and rinsing it. If it is not light enough, reapply and check again in five minutes. Do not exceed the maximum time recommended by the kit.
Hair types vary. Fine hair processes faster than thick hair. Darker hair takes longer to lift. Experience will make you better at judging this.
Rinsing and Aftercare
When the time is up, carefully remove the foils or cap. Thoroughly rinse your hair with cool water until the water runs clear. This gets rid of all the product.
Shampoo and condition your hair using a color-safe product. A purple shampoo can help counteract any brassy tones, which is a common concern with blonde highlights. Follow with a deep conditioner to restore moisture.
Avoid heat styling for a day or two after highlighting. Your hair will be more fragile and needs time to recover. Let it air dry if possible.
Maintaining Your Luminous Locks
You did it! Now, you want those highlights to last, right? It is like a new car; you have to keep it clean and perform regular maintenance.
- Use color-safe shampoo and conditioner. These products are formulated to protect hair color from fading.
- Limit heat styling. Excessive heat can cause highlights to fade or become brassy. Use a heat protectant when you do use hot tools.
- Consider a purple or blue toning shampoo once a week. Purple counteracts yellow tones, and blue neutralizes orange tones. This keeps your highlights looking cool and fresh.
- Schedule touch-ups as needed. Root growth will eventually appear. You can touch up roots every 6-8 weeks or when your roots become noticeable.
- Deep condition regularly. Highlighted hair needs extra moisture. A weekly hair mask will keep your hair healthy and vibrant.
Frequently Asked Questions
What if my highlights turn orange or brassy?
This happens sometimes, unfortunately. Use a purple shampoo or conditioner specifically designed to neutralize yellow or orange tones. Leave it on for the recommended time, usually 5-10 minutes, then rinse. Repeat weekly until the brassiness subsides.
Can I highlight my hair if it is already colored?
You can, but it is often more challenging. If your hair is dyed dark, highlighting can be unpredictable. A strand test is highly recommended to see how your hair reacts before committing to your entire head. Previously colored hair might also be more porous, leading to uneven results.
How often should I highlight my hair at home?
Most people highlight their hair every 8 to 12 weeks to touch up roots and refresh the existing highlights. Over-highlighting too frequently can damage your hair. Listen to your hair; if it feels fragile, give it a break.