How to Curl Hair with Curling Iron: Guide for Perfect Waves
Curling your hair with a curling iron can transform your look from flat to fabulous in minutes. Whether you’re a beginner still figuring out which end to hold or someone who’s tried but never quite mastered the technique, learning how to properly use this tool is simpler than you might think.
You’ll achieve the best curls by wrapping your hair diagonally away from your face while maintaining tension on the strands.
This technique helps create those swoopy, voluminous curls that stay in place all day. For beginners, start with clean, dry hair and apply a heat protectant before sectioning your locks.
Don’t worry if your first attempts aren’t perfect. With practice, you’ll discover that different curling techniques create different results – from bouncy spirals to loose waves. The beauty of curling irons is their versatility, allowing you to customize your hairstyle to match any occasion.
Preparing Hair for Curling

Getting your hair ready for curling is essential for achieving long-lasting results and preventing damage. The right tools, products, and preparation techniques can make a huge difference in how your curls turn out.
Selecting the Right Curling Iron
The first step to great curls is choosing the appropriate curling iron for your hair type and desired style. For tight curls, select a 1-inch curling iron or smaller. If you prefer looser waves, a 1.5-inch barrel works better.
Consider the material of your curling iron too. Ceramic irons distribute heat evenly and are gentler on your hair. Titanium heats up quickly and works well for coarse or thick hair. Tourmaline creates negative ions that reduce frizz.
Adjustable temperature settings are crucial to prevent damage. Fine or damaged hair needs lower heat (300°F or less), while thick or coarse hair can handle higher temperatures (up to 400°F). Never use the highest setting without testing first.
Make sure your curling iron has a clamp if you prefer that method, or choose a wand for clamping-free curling.
Applying Heat Protectant and Styling Products
Never curl your hair without applying heat protectant first. This creates a barrier between your strands and the high heat of your curling iron.
Spray heat protectant evenly throughout dry hair, focusing on the mid-lengths and ends where damage occurs most easily. Products like Oribe Royal Blowout provide excellent protection and add shine.
For fine hair that struggles to hold curls, apply a lightweight mousse or setting spray before curling. This will help your style last longer. Work the product through damp hair and blow dry before curling.
A small amount of hair oil on your ends can prevent frizz and add shine to your finished style. Just be careful not to use too much, as excess product can weigh down curls.
Detangling and Sectioning Hair
Always start with completely dry, thoroughly detangled hair. Any moisture or tangles can create frizz or prevent proper curling.
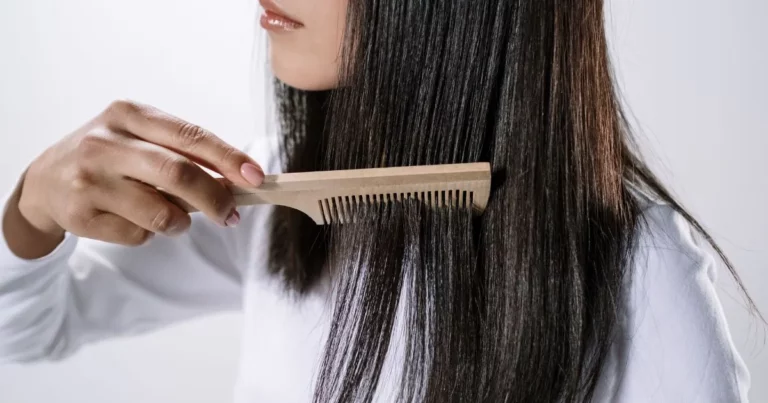
Use a wide-tooth comb to gently remove knots before you begin. This ensures even heat distribution and smoother curls.
Proper sectioning is crucial for curling efficiently. Divide your hair horizontally from ear to ear, securing the top section with clips. Work with the bottom layer first, then release small sections from the top as you go.
For thick hair, create more sections (3-4) to make the process manageable. For fine hair, 2-3 sections should suffice. Aim for 1-inch sections when curling—smaller sections for tighter curls, larger for looser waves.
Always keep hair clips handy to maintain your sections while working through your hair.
Step-By-Step Guide to Curling Hair with a Curling Iron

Curling your hair with a curling iron is all about technique and practice. These simple steps will help you create beautiful curls regardless of your hair type or desired style.
How to Curl for Different Hair Types
For Fine Hair:
- Use a smaller barrel (3/4-1 inch) for better hold.
- Apply a lightweight heat protectant before styling.
- Set your curling iron to medium heat (300-325°F) to prevent damage.
- Hold each section for 5-8 seconds only.
For Thick Hair:
- Choose a larger barrel (1-1.5 inches).
- Section your hair more carefully into smaller parts.
- You may need slightly higher heat (350-375°F).
- Hold the curling iron at the root and work your way down.
For Curly/Textured Hair:
- Straighten hair slightly first for more uniform curls.
- Use a heat protectant with moisturizing properties.
- Wrap hair around the barrel rather than using the clamp.
- Let curls cool completely before touching to set the shape.
Remember to always twist your wrist to turn the barrel away from your face for a fresher, more open look.
Achieving Loose Curls and Waves
Beach Waves Technique:
- Hold your curling iron vertically.
- Wrap hair around the barrel leaving the ends out.
- Hold for 5-7 seconds, then release.
S-Wave Method:
- Start with the curling iron held horizontally.
- Clamp hair about 1-2 inches from the ends.
- Twist the iron halfway, hold, then twist in opposite direction creating an “S” pattern.
For looser curls, use a larger barrel (1.5-2 inches) and don’t hold the heat as long. Brush through curls gently with fingers after cooling for a more relaxed look.
Pro Tip: Spritz with lightweight hairspray between sections for longer-lasting waves without crunchiness.
Techniques for Short Hair
Pixie Cuts:
- Use a very small barrel (1/2-3/4 inch).
- Curl just the longer top sections away from face.
- Apply pomade instead of hairspray for flexible hold.
Bob Length:
- Start curling at the root for more volume.
- Alternate curling directions (toward and away from face) for texture.
- Use the clamp curling iron with confidence – clamp, wrap, hold, release.
For very short layers, try a flat iron instead, twisting as you pull down through the hair. Cool completely before styling with fingers to break up curls for a more modern, piecy look.
Keep styling products minimal with short hair – a pea-sized amount of lightweight mousse before curling and a light mist of hairspray after will suffice.
Finishing and Setting Curled Hair

Once you’ve created beautiful curls with your curling iron, the right finishing techniques will help them last longer and look their best. Proper setting methods make the difference between curls that fall flat and those that stay bouncy all day.
Adding Volume and Texture
To add volume to your freshly curled hair, flip your head upside down and gently shake out the curls with your fingers. This simple movement helps separate tight curls and creates natural-looking volume at the roots.
For extra lift, try teasing the roots with a fine-tooth comb at the crown area. Be gentle to avoid damaging your hair or creating unwanted frizz.
Dry shampoo is a secret weapon for adding texture and volume. Spray it lightly at your roots and massage it in with your fingertips. This absorbs oils and gives your hair a fuller appearance.
For fine hair that struggles to hold curls, apply a small amount of mousse before curling. This creates a better foundation for lasting curls and adds natural-looking texture.
Using Hairspray and Texturizing Products
Hairspray is essential for keeping curls in place, especially for those with straight or fine hair. Hold the can 8-10 inches away from your head and spray in short bursts rather than saturating your hair.
Pro tip: For flexible hold that doesn’t feel crunchy, use a light to medium-hold hairspray and layer it if needed.
Texturizing spray adds definition and grip to your curls. Apply it to the mid-lengths and ends of your hair after curling for added separation and movement. This helps create that effortless, lived-in look that’s so popular.
For special occasions or when you need maximum staying power, try this technique:
- Curl a section of hair
- While still warm, pin the curl to your head with a clip
- Let all curls cool completely before removing pins
- Finish with hairspray
Styling Tips and Troubleshooting

Even with the best curling iron, styling challenges can pop up. Knowing how to create different looks and fix common problems will help you get perfect curls every time.
Creating Beach Waves and Beachy Waves
Beach waves are relaxed, casual curls that look effortless yet stylish. To achieve this look, use a 1-inch curling iron and wrap larger sections of hair around the barrel, leaving the ends straight.
Hold the curling iron vertically with the clasp facing forward when styling. This position helps create those signature loose waves rather than tight curls.
For authentic beachy waves:
- Curl sections in alternating directions
- Finger-comb through curls after cooling
- Apply a texturizing spray for that tousled look
- Leave the ends uncurled for a more natural finish
After curling, gently tousle your hair with your fingers rather than a brush to maintain the wavy texture without making it too perfect.
Fixing Common Curling Mistakes
Heat damage is a frequent problem when curling hair. Always use a heat protectant before styling and keep your iron between 300-350°F for fine hair and 350-400°F for thick hair.
If your curls fall flat quickly, you might not be letting them cool properly. Try these solutions:
- Pin each curl to your head after curling
- Let curls cool completely before touching
- Use a lightweight hairspray before and after curling
- Make sure hair is completely dry before curling
When curls look too tight or “prom-like,” try different techniques with the same iron. Wrapping hair around the barrel without using the clamp creates softer curls.
For short or medium hair, adjust your technique. Smaller sections work better for shorter styles, giving you more control.
Managing Cowlicks
Cowlicks can be challenging when styling curled hair. These stubborn hair sections grow in different directions and often resist curling uniformly with the rest of your hair.
To tame cowlicks:
- Start with damp hair and blow-dry the cowlick in the opposite direction
- Use extra heat on cowlick areas (while still protecting with heat spray)
- Hold the curling iron on cowlicks slightly longer than other sections
For persistent cowlicks at the crown or hairline, try using a smaller barrel curling iron just on those sections. This gives you more control and helps blend them with the rest of your curls.
Apply a strong-hold hairspray specifically to cowlick areas before and after curling. This double application helps lock the curl in place despite the natural resistance of cowlicks.
Frequently Asked Questions
Curling hair with a curling iron involves specific techniques that vary based on hair length, texture, and the style you want. Different methods and tools can help you achieve beautiful curls that last throughout the day.
What are the best techniques for curling short hair with a curling iron?
Short hair requires special attention when curling. Use a smaller barrel curling iron (3/4 inch or 1 inch) to create defined curls that won’t overwhelm shorter lengths.
Wrap small sections of hair around the barrel, holding for 5-10 seconds depending on your hair type. For pixie cuts or very short styles, focus on curling just the top layers to add texture and movement.
Always curl away from your face for a more flattering look. This opens up your features rather than closing them in.
What steps should beginners follow to curl their hair using a curling iron?
Start by applying a heat protectant to shield your hair from damage. Make sure your hair is completely dry before using a curling iron.
Divide your hair into manageable sections using clips. Begin with lower sections and work your way up, using 1-inch sections for more defined curls.
Hold the curling iron vertically and wrap hair around the barrel, away from your face. Hold for 8-10 seconds, then release gently without pulling.
Let the curls cool completely before touching or brushing to help them set properly.
How can I ensure my curls stay in place all day after using a curling iron?
Let your curls cool completely before touching them. This helps set the shape as the hair cools down from the heat styling.
Apply a light-hold hairspray to each section immediately after curling while the hair is still warm. Once all hair is curled and cooled, use a medium-hold hairspray for all-day staying power.
Higher heat settings can help curls last longer, but be careful not to damage your hair. Find the right balance for your hair type.
Using a mousse or curl-enhancing product before curling can also provide better hold and longer-lasting results.
What are the differences between curling hair with a clamp vs. without a clamp on the iron?
Clamp curling irons (traditional curling irons) hold your hair in place while curling, making them easier for beginners. They’re great for creating uniform, classic curls but may leave a crease mark at the end of your hair.
Clampless curling irons (curling wands) require you to manually hold the hair around the barrel. They create more natural-looking, beachy waves without crease marks.
Wands typically create softer, more modern curls while clamp irons can create tighter, more defined curls. Your choice depends on the style you want to achieve.
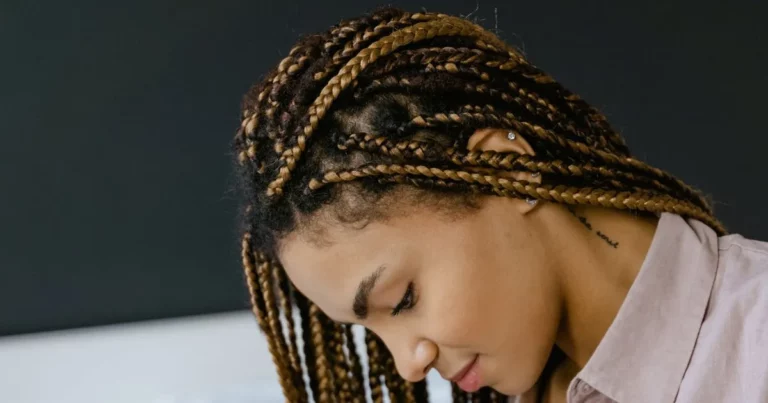
How can someone with thicker hair textures, like a Black girl, effectively curl their hair with a curling iron?
For thicker hair textures, use a lower heat setting to prevent damage while still effectively styling. A medium to high setting often works well, but avoid the highest settings.
Work with smaller sections to ensure the heat penetrates evenly. This is especially important for dense, thick hair to achieve consistent curls throughout.
Consider using a larger barrel curling iron (1.25-1.5 inches) for more relaxed curls that complement natural volume. A thermal protectant is essential to prevent heat damage.
What are the pros and cons of curling hair vertically compared to horizontally with a curling iron?
Vertical curling (holding the iron straight up and down) creates looser, bouncier curls with more volume. This technique works well for creating ribbon curls or spiral curls that fall naturally.
Horizontal curling (holding the iron parallel to the ground) creates tighter, more defined curls with less volume. This method is ideal for creating structured, uniform curls.
Vertical curling tends to be more flattering around the face as it creates movement away from the face. Horizontal curling works better when you want more precise control over the curl direction.